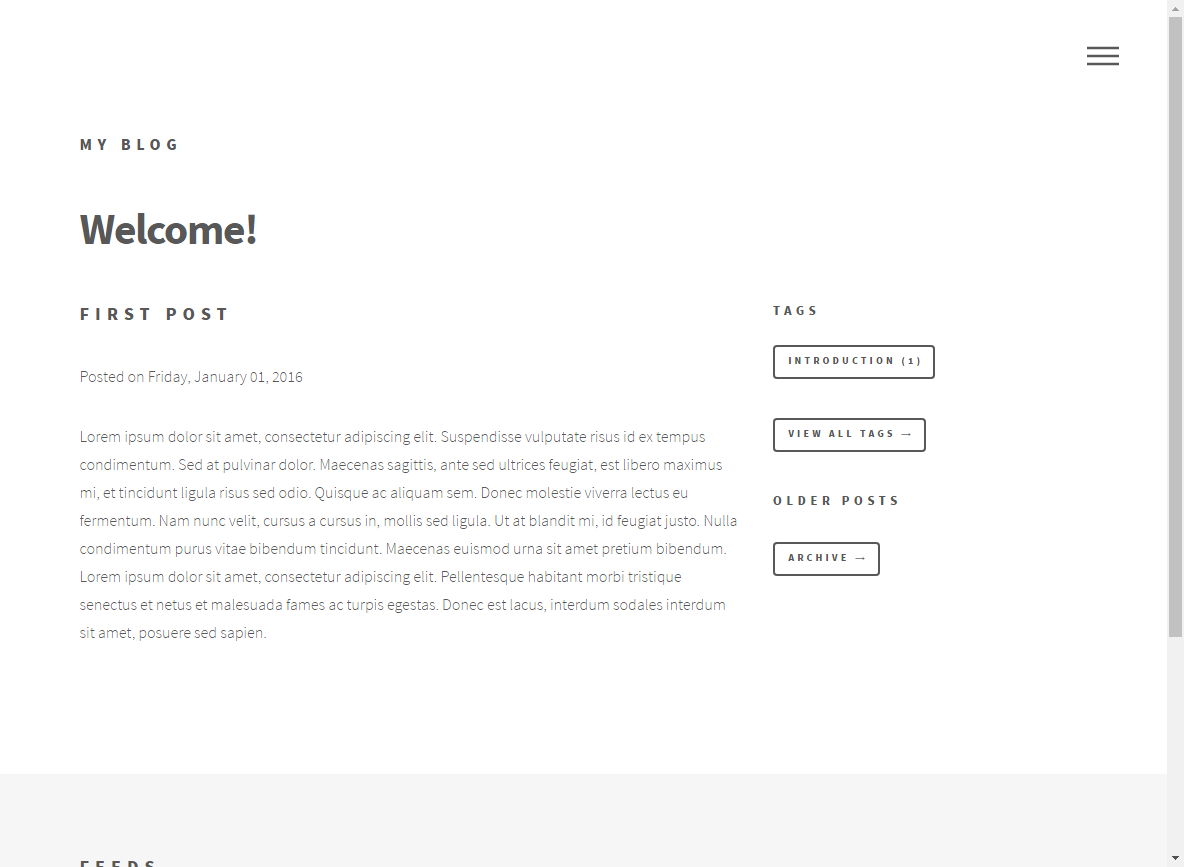
A sparse theme with lots of whitespace.
- NuGet Package
- Wyam.Blog.Phantom
- Links
- Source Code
- Preview
Usage Via NuGet
This is an official theme and therefore Wyam already knows about it and no explicit NuGet package needs to be specified.
To use it, pass the -t argument on the command line to specify the theme
(along with the -r argument to specify the recipe):
wyam -r blog -t PhantomAlternatively, you can specify the theme and recipe in your configuration file:
#r blog
#t Phantom
This theme is a port of the Phantom theme from HTML5 UP.
Overriding Theme Files
One way to customize the output of the recipe is to override specific theme files with your own versions. Some theme files are even designed specifically for this purpose. While any theme file can be overridden, these are some of the more useful ones you should focus on. To implement an override, create a new file with the same name in your own input path. In many cases you'll also want to start with the original content of the theme file (as available in the repository) and edit it from there.
/assets/css/override.cssYou can use this file to define additional CSS styles. You can also define CSS override styles in this file since it's included after the main Bootstrap and theme CSS files.
/favicon.icoPut your favicon here.
/_Head.cshtmlThis is included as part of the
<head>content of every page after the theme elements. You can use it to add any additional scripts, stylesheets, etc./_Navbar.cshtmlYou can use this to define a custom navigation bar for the top of your page.
/_Scripts.cshtmlThis is included at the bottom of every page. Use it to add JavaScript code such as Google Analytics tracking.
/_Header.cshtmlReplace this to customize the header for each page.
/_Footer.cshtmlThis contains the site footer and overriding it will let you specify your own footer.
/_Sidebar.cshtmlAdditional content that gets displayed on the right-hand sidebar on your homepage.
/_PostFooter.cshtmlThis is included at the bottom of every blog post and can be used for placing extra per-post content like commenting systems (I.e., Disqus).
Usage Notes
Adding Disqus
Adding Disqus (or any other commenting system) to your blog posts is easy. You'll need to include the Disqus code on every blog post (but not other pages), so /_PostFooter.cshtml is probably the best place to put it. Add the following to a _PostFooter.cshtml file in your input folder:
<div id="disqus_thread"></div>
<script type="text/javascript">
    /* * * CONFIGURATION VARIABLES: EDIT BEFORE PASTING INTO YOUR WEBPAGE * * */
    var disqus_shortname = 'your-shortname'; // required: replace example with your forum shortname
    var disqus_identifier = '@Model.FilePath(Keys.RelativeFilePath).FileNameWithoutExtension.FullPath';
    var disqus_title = '@Model.String(BlogKeys.Title)';
    var disqus_url = '@Context.GetLink(Model, true)';

    /* * * DON'T EDIT BELOW THIS LINE * * */
    (function() {
        var dsq = document.createElement('script'); dsq.type = 'text/javascript'; dsq.async = true;
        dsq.src = '//' + disqus_shortname + '.disqus.com/embed.js';
        (document.getElementsByTagName('head')[0] || document.getElementsByTagName('body')[0]).appendChild(dsq);
    })();

    (function () {
        var s = document.createElement('script'); s.async = true;
        s.type = 'text/javascript';
        s.src = '//' + disqus_shortname + '.disqus.com/count.js';
        (document.getElementsByTagName('HEAD')[0] || document.getElementsByTagName('BODY')[0]).appendChild(s);
    }());
</script>
<noscript>Please enable JavaScript to view the <a href="http://disqus.com/?ref_noscript">comments powered by Disqus.</a></noscript>
<a href="http://disqus.com" class="dsq-brlink">comments powered by <span class="logo-disqus">Disqus</span></a>
This example uses the file path as the Disqus ID. Depending on how you have your Disqus account set up, you many need to tweak the configuration variables.