Netlify is web host dedicated to static sites. It's a great choice to get up and running quickly because there are several low-ceremony deployment options.
Drag-And-Drop
When you first set up a new site, there's a huge box right on their admin page that tells you to drag-and-drop your files:
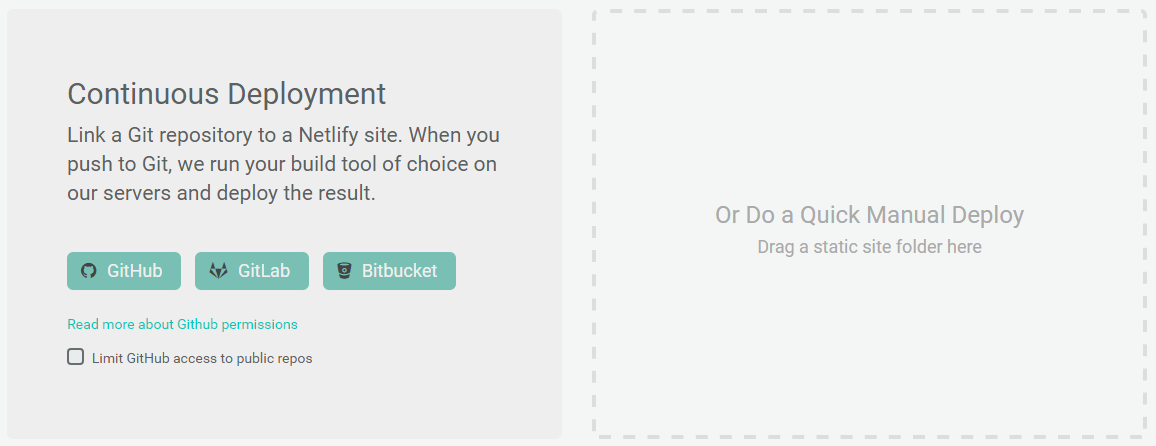
To use this with Wyam, build your site and then drag and drop your output directory into the box. This works as you would expect and shortly after doing so your site will be live.
Upload A Zip File
Another approach is to upload a zip file to a special endpoint. One way to automate this process is to use a Cake script to generate the zip file and upload it:
Task("Deploy")
    .Does(() =>
    {
        // Add NETLIFY_TOKEN to your enviornment variables
        string token = EnvironmentVariable("NETLIFY_TOKEN");
        if(string.IsNullOrEmpty(token))
        {
            throw new Exception("Could not get NETLIFY_TOKEN environment variable");
        }

        // zip the output directory and upload using curl
        Zip("./output", "output.zip", "./output/**/*");
        StartProcess("curl",
            "--header \"Content-Type: application/zip\" "
            + "--header \"Authorization: Bearer " + token + "\" "
            + "--data-binary \"@output.zip\" "
            + "--url https://api.netlify.com/api/v1/sites/yoursite.netlify.com/deploys");
    });
Use The Netlify Node CLI
You can use the Netlify Node CLI to upload your site. The advantage of this over uploading a zip file is that it will automatically check whether a file is updated and only transfer new content since your last publish. Once again, you can automate this is a Cake script:
#addin "Cake.Npm"

// ...

Task("Deploy")
    .Does(() =>
    {
        // Add NETLIFY_TOKEN to your enviornment variables
        string token = EnvironmentVariable("NETLIFY_TOKEN");
        if(string.IsNullOrEmpty(token))
        {
            throw new Exception("Could not get NETLIFY_TOKEN environment variable");
        }

        // Install the Netlify CLI locally and then run the deploy command
        NpmInstall("netlify-cli");
        StartProcess(
            MakeAbsolute(File("./node_modules/.bin/netlify.cmd")),
            "deploy -p output -s yoursite -t " + token);
    });
Use NetlifySharp
You can use the NetlifySharp client to upload to the server. This plugin also has the advantage of supporting selective uploads. Once again you can use Cake to automate the deployment.
#addin "nuget:?package=NetlifySharp&version=0.1.0"

using NetlifySharp;

// ...

Task("Netlify")
    .Does(() =>
    {
        var netlifyToken = EnvironmentVariable("NETLIFY_TOKEN");
        if(string.IsNullOrEmpty(netlifyToken))
        {
            throw new Exception("Could not get Netlify token environment variable");
        }

        // Install the Netlify CLI locally and then run the deploy command
        Information("Deploying output to Netlify");
        var client = new NetlifyClient(netlifyToken);
        client.UpdateSite($"daveaglick.netlify.com", MakeAbsolute(Directory("./output")).FullPath).SendAsync().Wait();
    });